The purpose of a re inventory is to safe you time when preforming a second inventory on a property,
this feature allows you to cop all of the content of the previous inventory with out affecting it
and the the correct dates associated with the new document. To do this you have to make sure that the
property that you wish to conduct a re inventory has got an inventory associated with it.
First thing you have to do is find the property you wish to make a re inventory for
(if you don't know how to do this then see the web dashboard overview section)
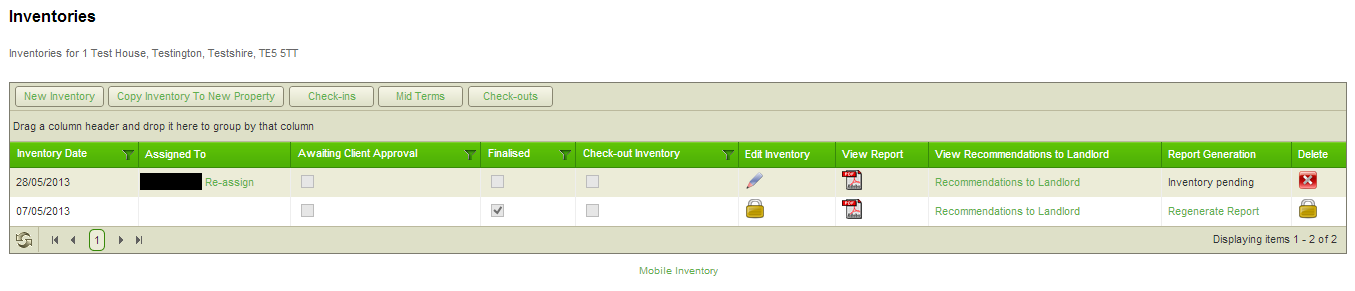
Once you have found the the property that you want then select the inventory section
on the right hand side, as you can see the example below has one inventory associated with it.


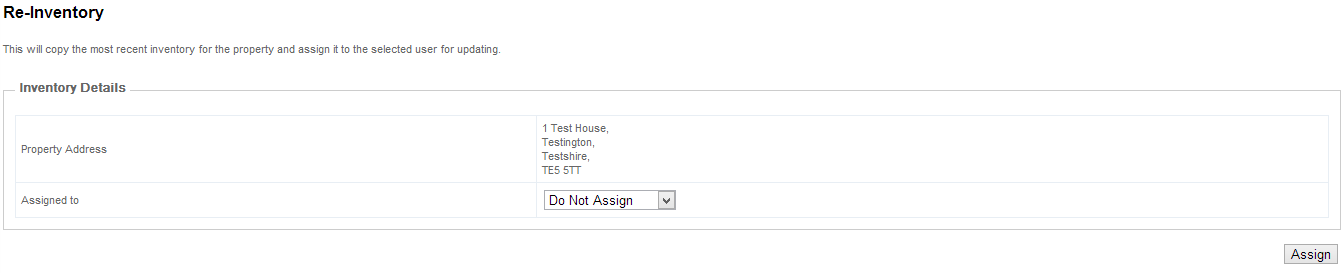
Then to create the document you select the "Re-inventory" option displayed underneath the
property address on the left hand side, if this option is not displayed then that is because the
previous document is no locked. To do this select the "finalise for client approval" option
on the right hand side and then "finalise report" this will then lock the document
allowing you to proceed

Once you've selected this the standard assign menu will appear, just find your user name in the drop down list
and then select assign.
As soon as you have selected who you want to assign the document to the website will then
take you back to the screen that displays what inventories are associated with that property
with the one that you have just created on the top displaying who the document is assigned on the
left hand side.
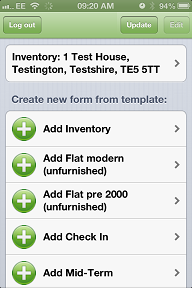
Then if you go onto your device and press the update button and you will then see
the inventory document that you have just created.

Created with the Personal Edition of HelpNDoc: Generate EPub eBooks with ease