Boundaries
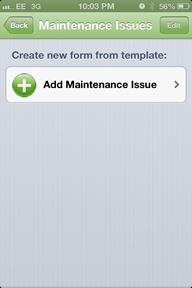
When you click on Boundaries on the home screen of the device a new screen will appear that looks like this.
The device will then ask you to create a new form from the template.
To add a boundary simply press the ‘Add Boundary’ button and a new screen will appear that looks like this.
The first box at the top of the screen is the boundary type.
The default for the boundary type is set to ‘Brick Wall’ to change this then simply press the box that already
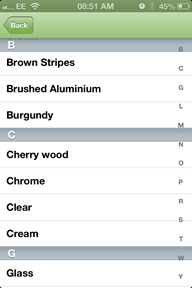
has ‘Brick Wall’ inside it and a new screen will appear that looks like this.
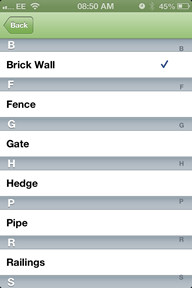
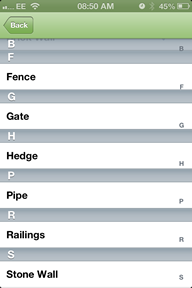
Within this box you can select ONE boundary type at a time.
To do this simply scroll through and select the boundary type that you desire.
Once you have pressed the boundary that you desire a small blue tick will appear on the right hand
side of the boundary that you have selected. Then press the back button on the top left and this will
take you back to the boundary home page.
Colour
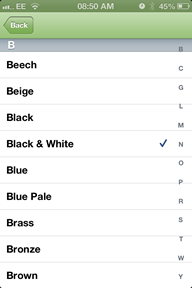
The default colour is set to Black and White to change this simply press the white box that has Black
and White written in it. When you press back to the add boundary page, the boundary that you have
selected will then appear at the top of the screen with the ‘Add Boundary’ button beneath it.
Condition
The condition is the state of the item that you are describing.
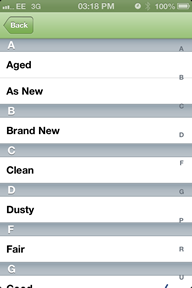
The default condition will be set to ‘Good’ to change this press on the white box where it says
‘Good’ and a new screen will appear that looks like this.
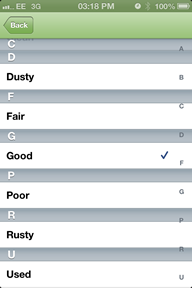
To select the condition that you require press the name that you want to appear on the screen
(A small blue tick will appear on the right hand side) Press back and you will return to the home screen.
The quantity is the amount of boundaries of that type that there are within the premises of the property.
The default is set to one to change this simply put your finger on the small circle along the line as you
move the slider, you will notice that the number on the left will change depending on the position of the
slider cursor. The number of boundaries on the slider has a maximum of ten per boundary.
To add any more simply add another boundary.
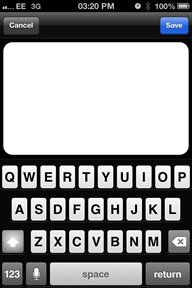
Notes is a text area where you can add any comments the you desire about the item that has been listed.
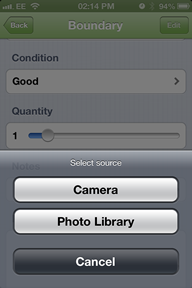
Photo
To add a new photo press the large white box underneath the the subheading photo.
A new screen will appear that looks like this.
To take a picture press the button labelled Camera which will then take you to the camera where you can take a photo.
Once you have taken the photo you will then be asked whether you would like to Save it or Retake.
If you have pressed saved then the photo will appear as a thumbnail size on the document where you selected.
If you aren't happy with the picture that has been taken then press retake and you will then be able to retake the photo.
If there are multiple External Features then you can add another External Features by pressing ‘Add External Features’
then you fill out the same form but it will be different due to the different External Features.
To add more than one boundary simply press the add Boundary button on the boundary
homepage and fill out the form like the previous.
Created with the Personal Edition of HelpNDoc: Free EPub producer